Product Showcase
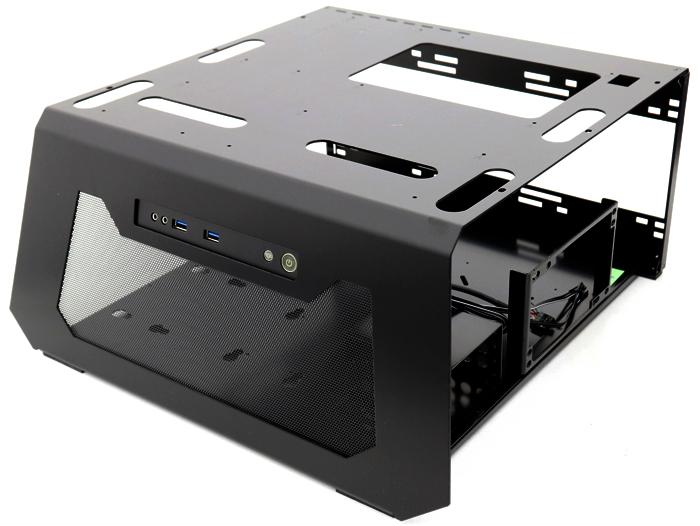
A small manual will guide you through the process. Well, that and this article of course. The unit is made out of metal and aluminum materials. Here at the front-side you can see the audio ports as well as two USB 3.x connectors and a power and reset switch. Especially the USB ports are a nice touch for a test bench.

Do not get confused by this photo, this is not the side but the rear of the test-bench. You can see a mounting bracket for the power supply as well as a cage for SSDs. The holes in the rear bottom can be utilized to mount an HDD, all screws and rubberized elements are included in the packaging.
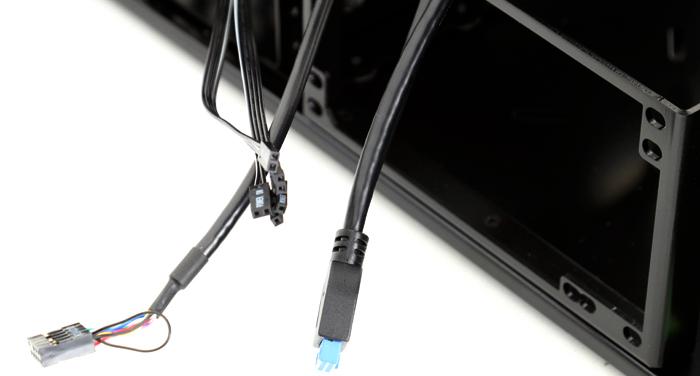
Cabling, well there isn't much of it. all nicely done in black, basically your reset/power / LEDs / audio and USB cables need to be connected.
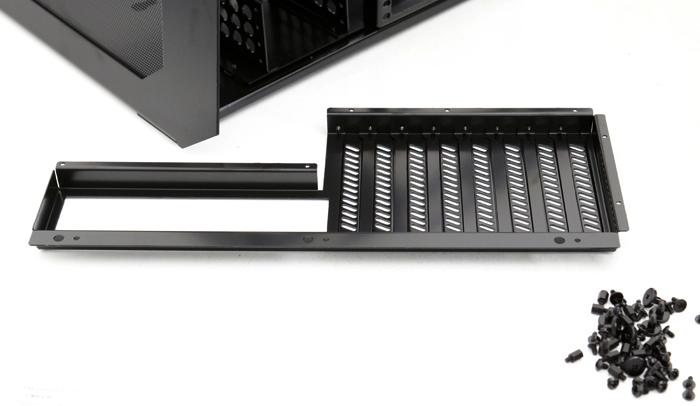
On this photo, you can see the rear PCIe slot bracket a bit better. It needs to be secured with three screws, which we'll show you later on. We'll also need to install a bunch of standoff screws that can rise and hold your motherboard. The installation obviously follows ATX form factor design motherboards, supported are E-ATX, ATX and Micro-ATX sizes.
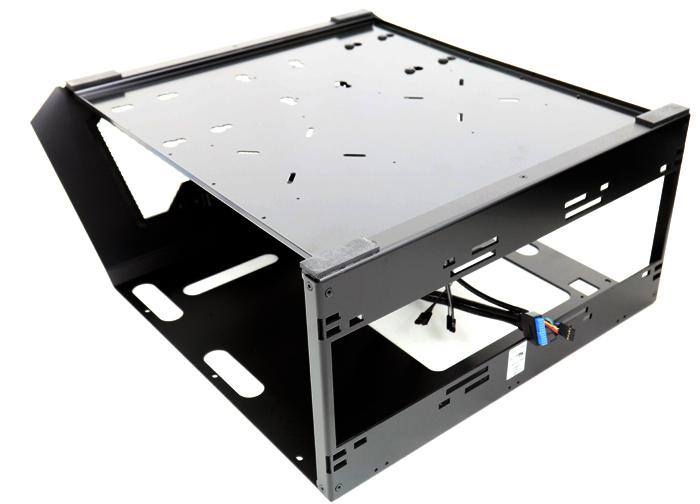
Here we place the turtle on its back for a second, you can see that the test bench rests on four rubber pads, to prevent resonating. BTW the opening on the rear panel shows something else, here you could mount an up to 360mm radiator.
