Page 5 - Installation
Installation
Setting up and preparing the system is pretty standard, just like the usual installation of a PC with the exception you install a couple of additional components.
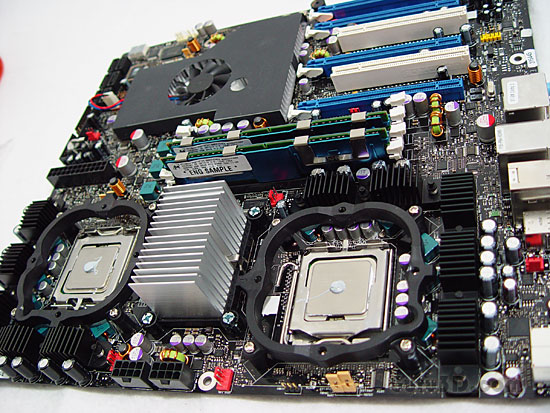
Obviously the first thing we did was install the retention clip for the Zalman coolers. We already inserted the memory in DIMM slot 1 & 2 (dual channel) and have inserted the two processors. Don't forget to apply a little thermal paste and smear that out evenly over the CPUs. Remember, a little drop is enough as you just want to fill up any surface inefficiencies.

To the right we can see the passively cooled Northbridge. Since we have two Zalman cooler we can create a little airflow over that passive cooler and perhaps even expand our overclocking experience. Let's have a look at the next photo.
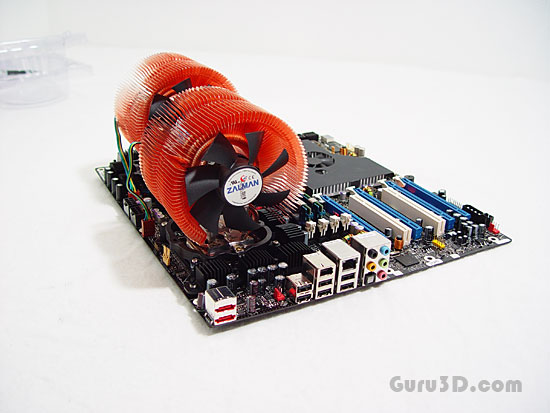
In-between the coolers the passive Northbridge heat sink is located. We now created a single directional airflow over that heatink, it'll help us overclock even further.
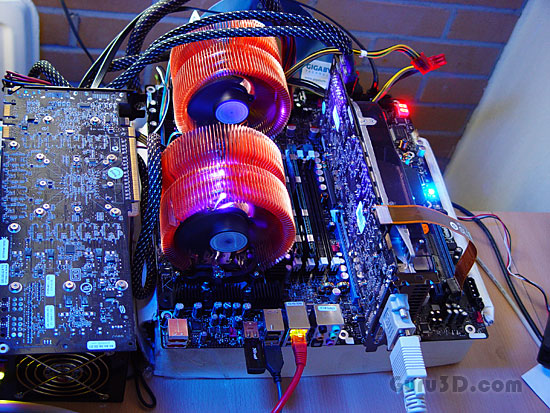
Since we had only roughly 24 hours to prepare this article (yes the mainboard arrived that late) I had to skip the tidy installation. We hooked up all the components we need and connected the mainboard to a kilowatt Enermax Galaxy DXX power supply. I could have used a 1200 Watt PSU yet a Kilowatt is sufficient plus the Enermax Galaxy has dual 8-pin CPU power connectors available, again great for stable overclocking.
We are now ready for testing baseline performance with a single graphics card.
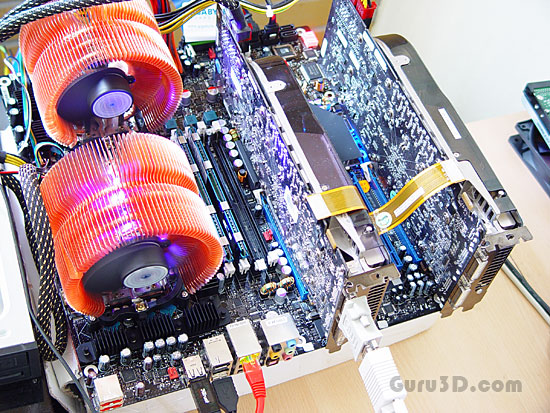
Horrible photo .. but yes, obviously we'll test SLI as well. We'll use NVIDIA's golden combo, the GeForce 8800 GTX. 3-Way SLI will not work by the way.
