Product Installation
Product Installation
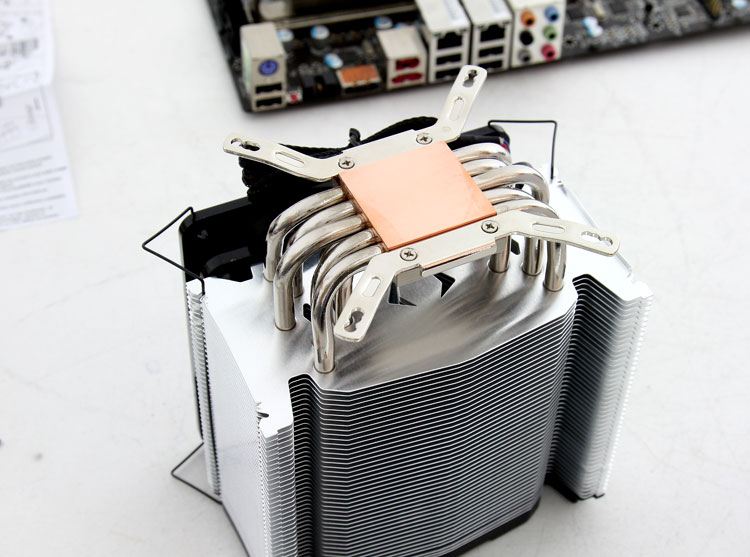
Installation is a bit muddled with a large array of parts that need to be assembled. For socket LGA 155/1156 mount the two brackets with four screws first.
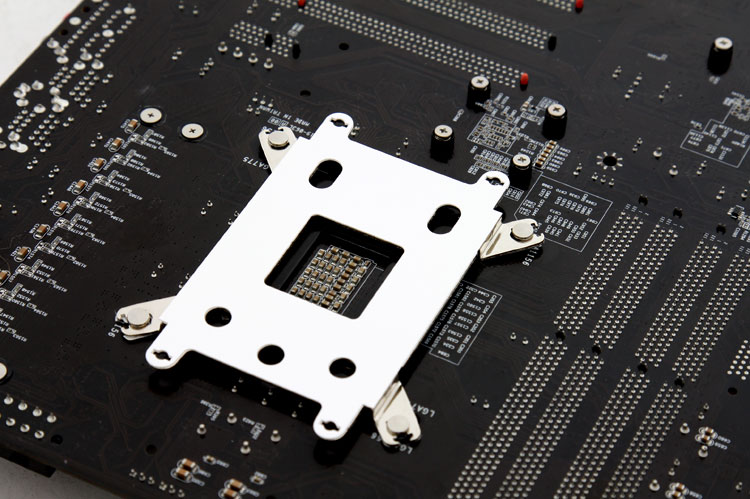
The motherboard needs to come out of the chassis. Now you first prepare the back plate, nuts need to be inserted in the holes for corresponding processor , Socket 1155/1156 in our case. Then push in four screws.
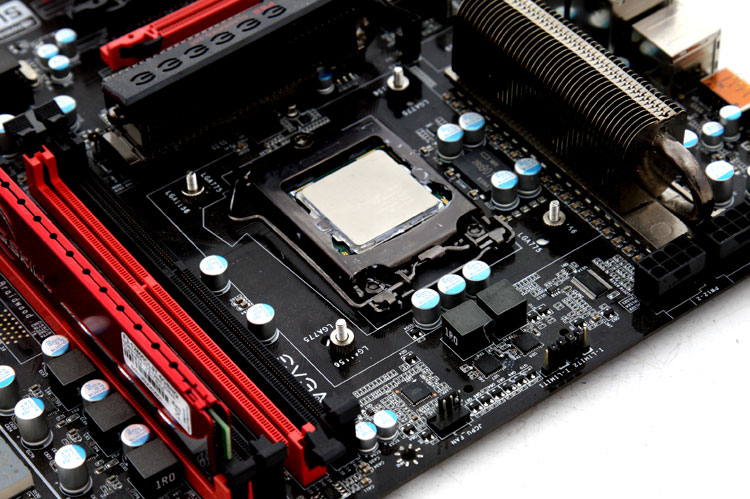
Then on the front side you need to insert four washers and then secure the screws with four nuts. We mount cooler, you should have already inserted your processor and apply thermal paste. Apply a drop or two, smear it out making sure you have a flat thin layer applied.
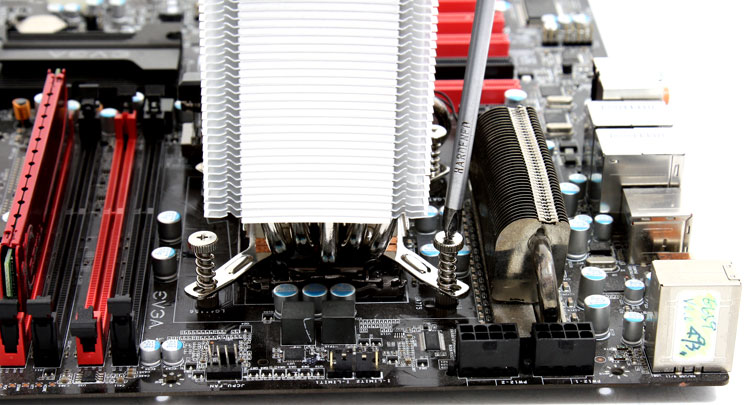
Once we seat the cooler in position it aligns up with the screws. With the help of the a screwdriver we can secure the chrome colored screws, just align the fan blades a little and you can secure the cooler real fast. For installation the fan needs to be removed by the way. Otherwise you can not reach the screws.
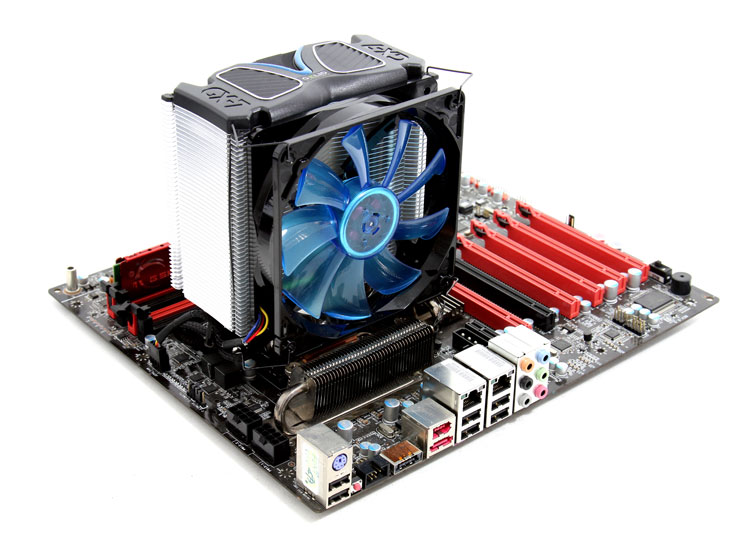
Once seated you can now connect the fan power cable to either your CPU FAN headers or a FAN controller. Right, once the motherboard is out, 15 minutes work maximum, we positioned the cooler and are ready for the first test run.
Gelid offers the kit with one FAN, you could mount a second one though.
