Page 3
When we have a look at the packaging we notice the plexi-glass packaging. Pretty nice stuff. Oh hey, you get some free thermal paste with it also. You can't have enough lube ;) (Ed: My suggestion to whoever gets that RAM after Hilbert... BURN IT) Inside the packaging we see that the modules have been placed in an air-tight/vacuum sealed antistatic bag. So probably if we bulldoze the package the memory would still be intact (and that is a positive!) ;)
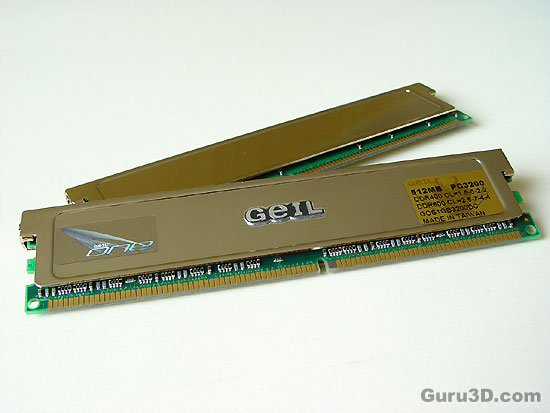
The modules really do look gorgeous don't they? The heatspreader could be used as a mirror my friends. It's brushed tin/chrome with underneath it a copper base. To your left we see the new Geil One series sticker and to your right the holographic sticker with memory timings. A strong tip for manufacturers, please state the recommended DDR voltages on there also!
The Holographic sticker is of course on there to protect you from fraudulent memory. Look at the original sticker and you'll know it's Geil module, authenticity.
So not only are the modules ridiculous fast, they also look good. That's nice to know for the case modders among us with an open side-window. Aesthetics people, aesthetics.
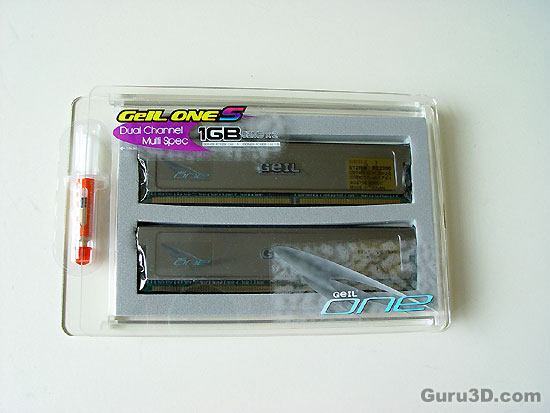 A bit of a under exposed photo, but carefully packaged memory is what you are looking at.
So testing wise we did a couple of things. First we'll look at performance with standard detected SPD settings. Then we'll lower the latency as much as possible to see where the memory halts. Then we play with the memory divider and force the memory from 400 (:2) towards 500 (:2) MHz and then we'll try a little overclocking on the system. That should provide us with plenty of data on this memory.
Memory testing is a process of trial and error, find and seek. Increase the FSB, change the memory timings, alter memory dividers until your system won't boot. If you are not comfortable with such a thing, hey this isn't your game then. I recommend you to lower the processor's multiplier and then slightly increase the FSB with high memory timings and take it from there.
Setting memory timings incorrectly could result is lost or corrupted data (resulting in system instability) or boot/post failure. If a system fails to post, default settings can be restored by clearing the CMOS/BIOS via the clear real time clock jumper on the motherboard. Refer to the board manual for the correct procedure.