Product Showcase CPU cooling
Product Gallery

As always we start with the packaging and bundle, everything is packaged, cushioned and bundled safely in the box. The smaller box holds a cooling block for the Radeon R9 Nano that we'll be giving a bit of a face-lift today. We'll show the preparation and installation of the AMD Radeon R9 Nano in a second part of this article, we'll first focus on prepping and testing just the CPU, and thus in later paragraphs and pages cover CPU+GPu cooling. Let's look inside the package though.

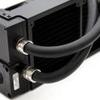
Once unboxed you'll spot the liquid cooling unit consisting out of the radiator, fan, tubing, pump/cooling block. Everything is pre-fitted and ready to use. you do not need to install fans or stuff like tubing towards the cooling block. Basically you will need to install/mount the unit onto the CPU and a motherboard back-plate to secure it. But you know what, you are visiting Guru3D.com, so we'll show you that all over the next few pages.
Bundled:
- EK-XLC Predator 360
- EK-TIM Ectotherm (1g syringe)
- Main Power and PWM signal cable
- Torx T20 key
- Installation manual (ENG)

You'll spot a back plate that supports Intel LGA 115x and 2011 processors which can be used in combination with this cooler. Please note this, before ordering read the compatibility listing carefully as there are some restrictions for Socket 2011. For Socket Intel LGA-1150/1151/1155/1156 you are totally good to go. The kit as is is not AMD processor/APU compatible with the included mounting brackets. Once unboxed you'll spot the cooling unit consisting of the radiator completely assembled with pump and fan hub, fans and brackets. You will receive a motherboard back-plate, some thermal grease TIM, fan mount screws for the chassis and a screw driver to be used for back-plate installation.
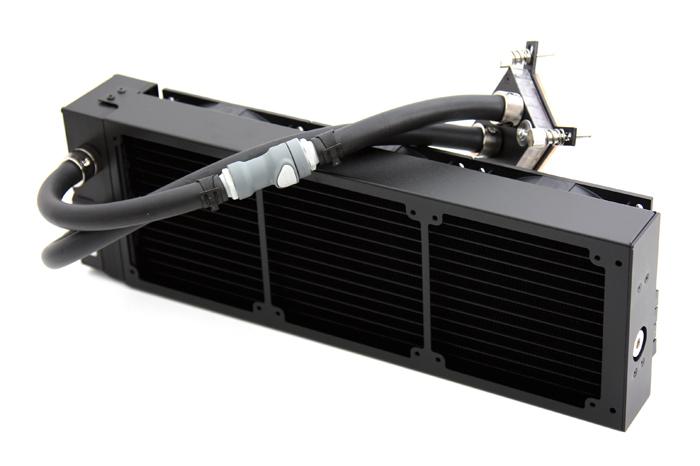
Here we have complete unit - it has three variable Vardar PWM fans fitted (120mm), these are re-wired on one connector into a fan hub and are controlled from the motherboard PWM controller - so your motherboard PWM controller will regulate the fans. Alternatively you could tie them to a fan controller, of course.
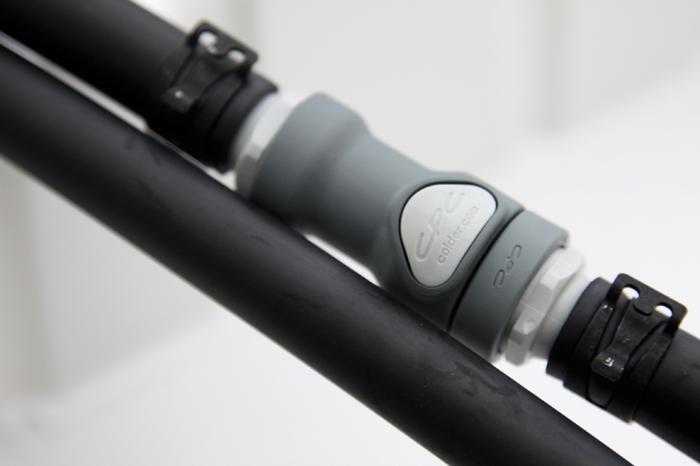
Their weird looking contraption is the Quick Disconnect Connector, and it's the best quality quick release I have ever seen or tested. Later on we'll show it. But you push the button and then can disconnect and add stuff to the loop. Once you open up the Quick Disconnect Connector it will close within a split second, so there's no leakage of fluid. in total I think we lost precisely one drop of coolant. Best quality Quick Disconnect Connector evah !
