Product Showcase CPU & GPU cooling (installation)
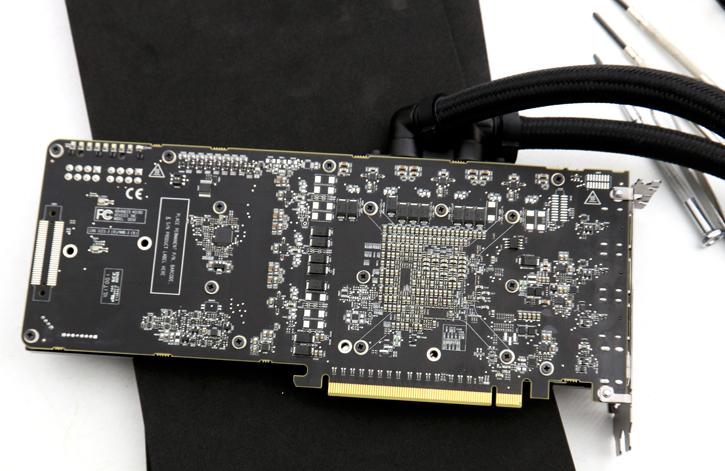
Once you've applied thermal paste to the GPU and the thermal padding is in place, you can now place the PCB onto the water-block. Simply align the screw-holes and start with the GPU holes. Use the included screws, but do not forget to apply a plastic washer (shown in the above photo) to each screw, ok? There are several length screws included, they all fit.
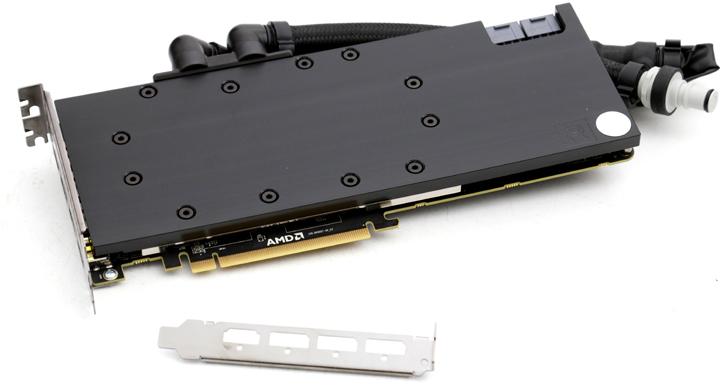
Use screws on all holes that line up with the water-block. We are now close to the end result, do not forget the front-side screws for the IO bracket as well as the IO bracket screws themselves. So the general consensus is simple, we've applied the CPU block and the GPU block. Mind you that I am not installing the single slot PCIe plate, as right after this review I'll revert the graphics card back to normal again as we need it for future graphics card testing. We now just need to connect the GPU block to the cooling loop and we do that like so:
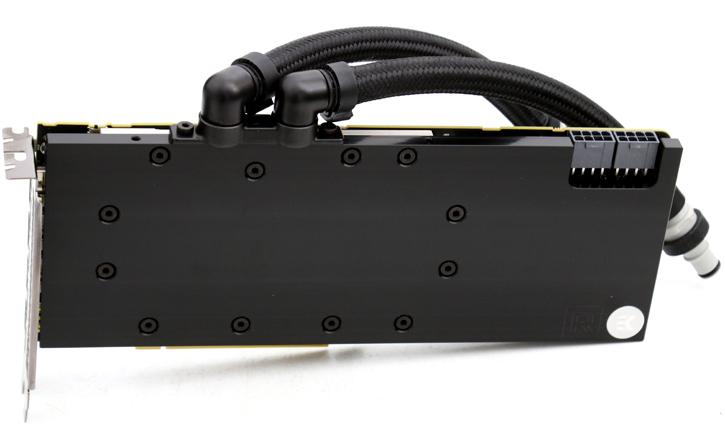
The only tip I'd like to give you is a simple one: "take your time", it's a 30minute job, tops. Once converted we now have a single slot water-cooled Radeon RX Vega 56, prefilled with coolant ready to be added into the loop. BTW that sure as heck looks a lot better compared to the reference cooler eh?!
Golden... quick disconnects. You push the connector button and pull the connectors loose and separate them, include the card into the loop. Super impressive, really.
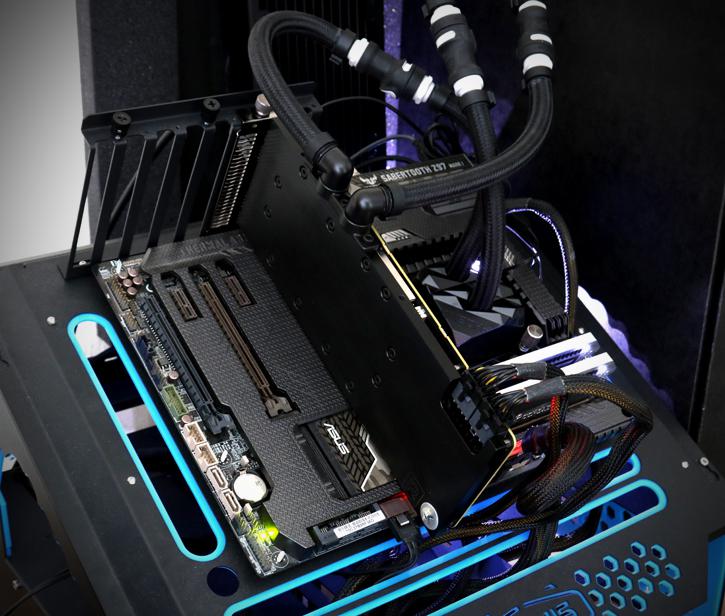
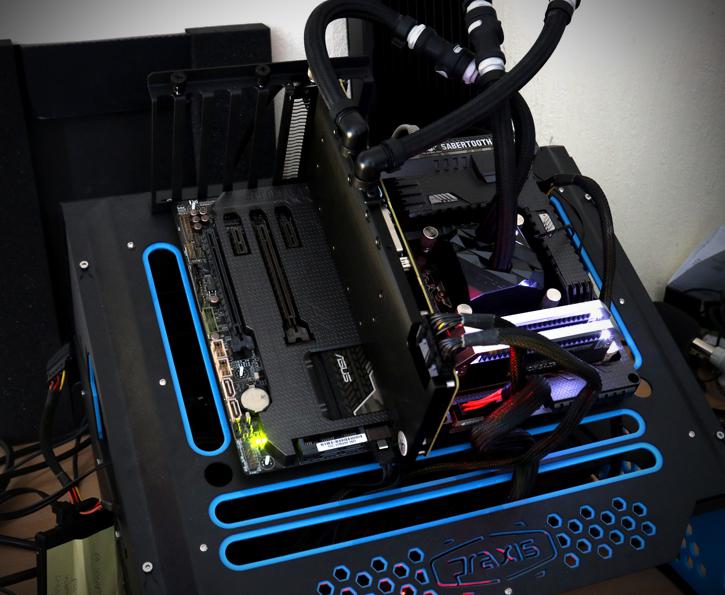
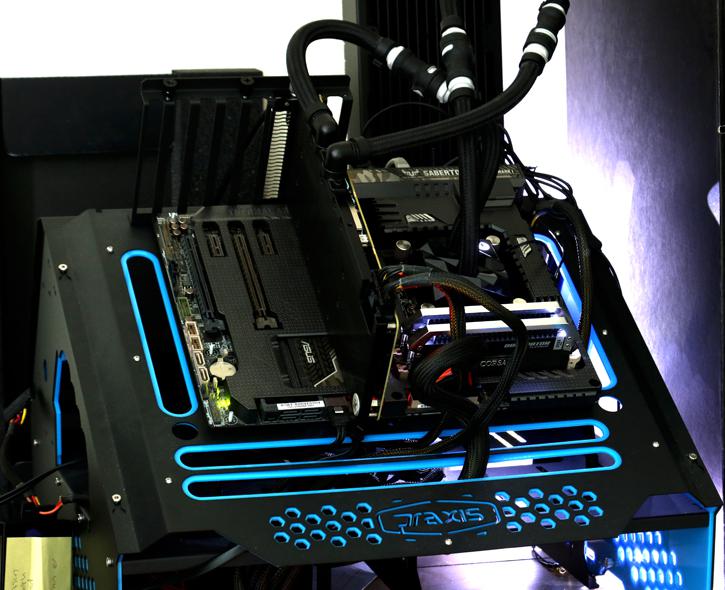
With the GPU now inserted into the cooling loop, we seated the card onto the motherboard, that is a pretty nice sight, eh? Obviously, housed in a chassis things will look 10x better, but basically, the dynamics are all the same. The photo below shows the final cooling loop.