Installation and Initial Performance tests
Installation
Wifi
Nothing is required other than the fact that you need a working host of some kind. So let's look at WIFI first:
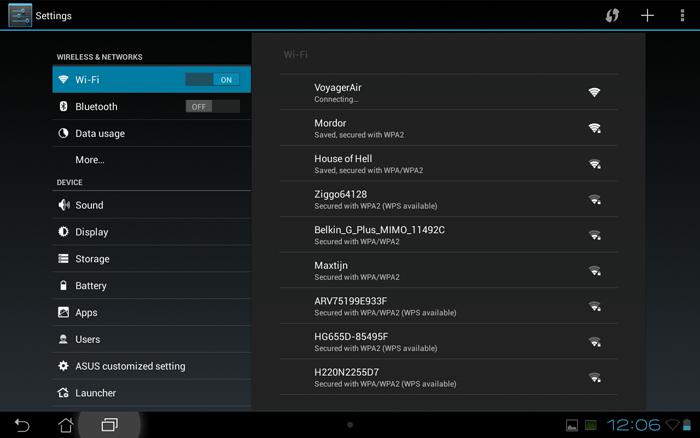
By enabling WIFI with the button located at the front-side of the Voyager AIR the product will basically function as an access-point. So over WIFI it doesn't actually mount into your existing network, it creates one which you need to connect to. Please do realize that once you enable WIFI pretty much anyone or everyone can access the Voyager Air. With the help of the Voyager Air APP you assign password protection though, but the basics are simple .. this is open communication.
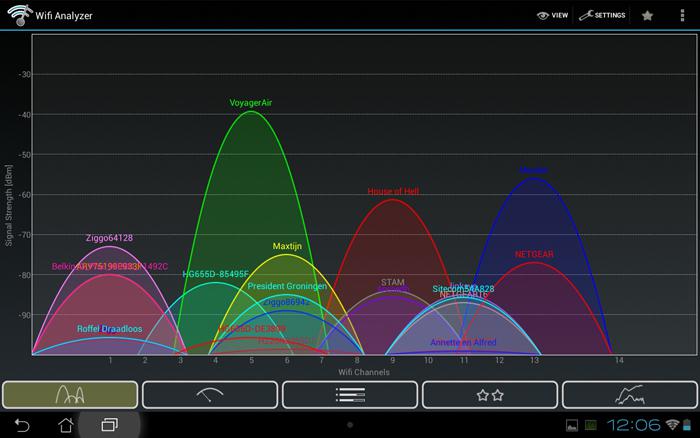
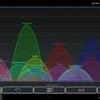
My tablet detects and connected to the Voyager Air at this stage. We have good signal, this is in the same room though. And good gosh man, there certainly are a lot of signals here in the lab. Once connected you can use the APP to browse the product. You can also connect to the device with your PC or Laptop, simply point the WIFI adapter towards the Voyager Air and once connected you can access the device through network options and copy files from and to it.
USB 3.0
If WIFI is not your thang, with the help of the USB 3.0 cable we can connect towards the device as well:
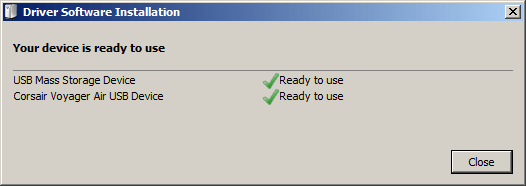
Simply plug it in and you'll start seeing a new Storage unit called Voyager Air USB as shown above.
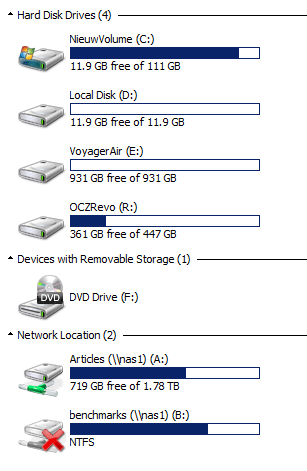
Once the USB 3.0 connection has been made you'll notice a new storage unit, in our case the E: Drive. It is already formatted and ready to use.
Ethernet
The Voyager Air also has an Ethernet jack. Simply add it to your network through a switch or directly towards your router. It will get a DHCP lease after which it will show up in your network:
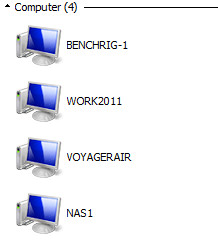
Here we can see that VOYAGERAIR is present. It is a network accessible drive meaning you can map a driver letter to it, make sub directories .. extra HDD functionality really.
What about performance
We can already share with you that performance will differ per connection alright. On the next page we'll look at some of the tests charted in benchmarks. But the most simple thing we can do is copy a compressed MKV file (1080P movie) towards the unit over its threefold of connectivity options.
We copy towards a ram-disk so there is no client / server side lag or bottleneck. Let's look at some examples:
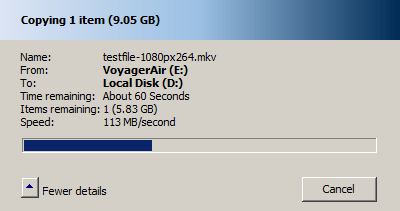
Above the USB 3.0 connection, we copy the file from the Voyager Air (VA from now on) towards the ram-disk. Roughly 113 MB/sec. Reversed we'd notice writes of roughly 50 MB/sec.
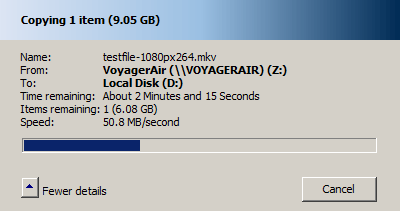
If we move to the Ethernet connector then we can read at roughly 51 MB/sec. Not bad, definitely enough for Full HD streaming over multiple streams.
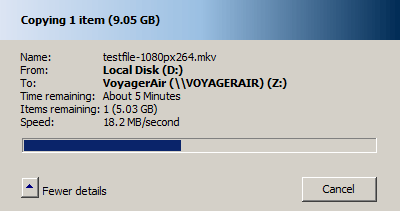
Reversed however we see that over the Gigabit connection copying from a Ram-disk towards the VA resulted in roughly 20 MB/sec, this we feel is a little on the low side. And I'll skip the screenshots, but on WIFI we got roughly 5-6 MB/sec which almost 50 Mbps. But our office is cluttered with WIFI signals, do keep that in mind.
