Product Gallery

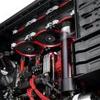
Okay so take a mental image of the photo above, don't stare just yet, let it simmer... we'll now move downwards.
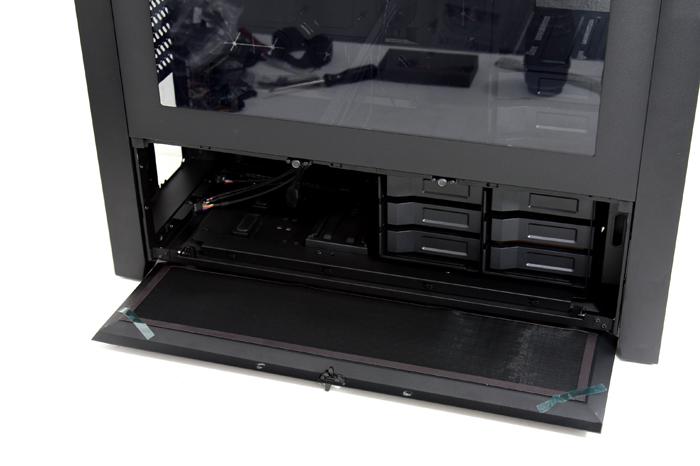
The lower compartment door once again can be easily open up and even removed. It holds magnetic dust-filters on the lower side-intakes. Behind it you'll notice the first series of storage options. Two HDD bays/cages; each cage can hold three HDDs or SSDs.
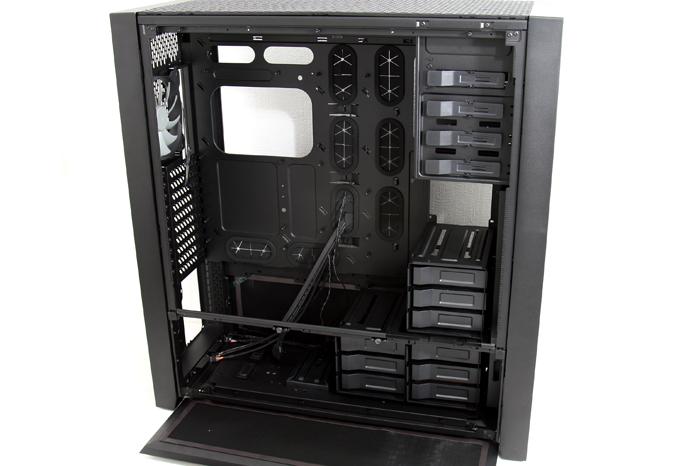
With the top side panel removed we can now look from top to bottom. Lower left is the PSU area, to the right the drive cages. We'll look more in-depth at that in a minute though. So you'll notice a CPU backplate cutout for simple CPU cooler installation, 4x tool-free 5.25in drive bays for easy drive installation, many cable-routing holes and multiple HDD cages that support up to 3x HDD per cage.
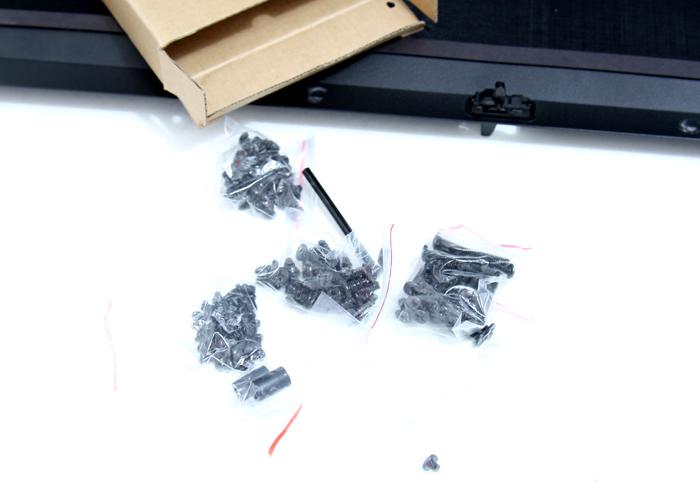
Inside the chassis you'll spot a small carton box. Bundled items are screws mostly for all the fans you can optionally mount.
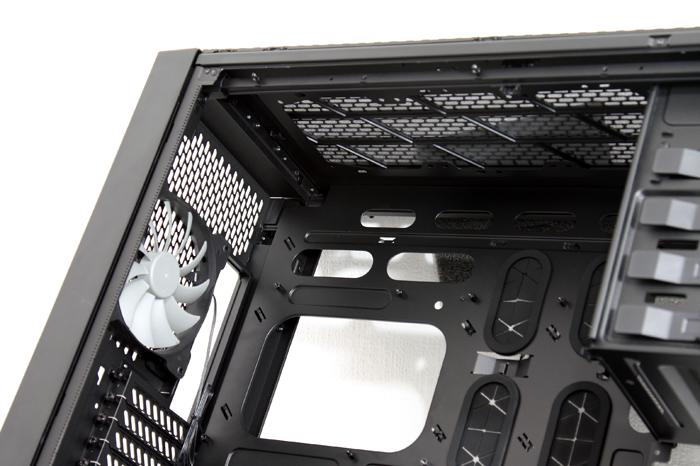
The top side reveals a vent cover/filter on top that can be easily removed and cleaned and the 140mm rear exhaust fan. These are PWM controlled fans. Connect them to a controller or your motherboard to regulate them. The 900D itself does not have a fan controller though.
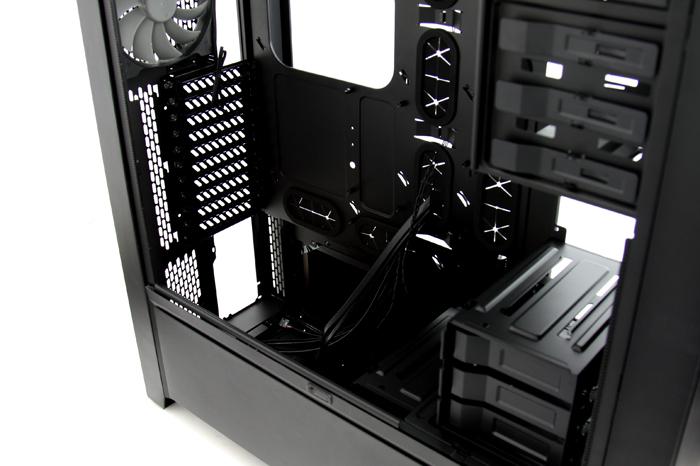
The interior overall is extremely well designed and there's just so much room to work with, all the larger components will fit easily. But let's have a closer look at the drive cages, as these are configurable.
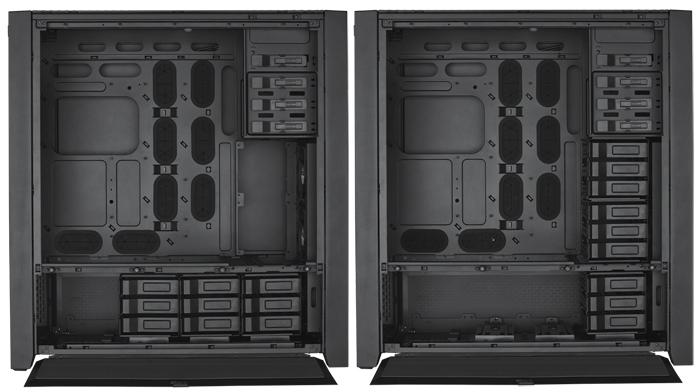
So the 3.5" HDD cages can be (re)located in different positions as there are five different locations to mount the three HDD cages, should you think that 9 drives are not enough, then you can purchase 2 extra HDD cages directly from Corsair’s webstore, bringing the total number of drives supported up to a total of 15.
