Photoshoot and installation
We where already horribly late with this article so I forfeited installation into an actual PC to save some time. But the last step is simple and thus installing the unit shown above in the rear of your PC, this is fairly easy though. You secure it into the 120mm holes your chassis has. The unit is secures with the 4 pre installed rubber vibration isolating plugs you can see sticking out of the fan. I've used them before; sturdy and great stuff as they help out dampening vibration noise as well.
Once done, there is one last thing to do. The unit feeds completely off a CPU motherboard power FAN header. Therefore, Just one tiny cable is needed. Lovely again.
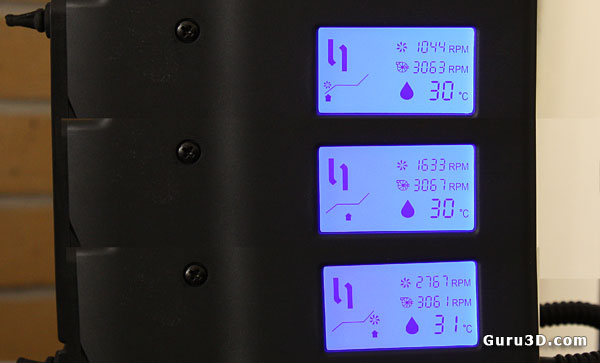
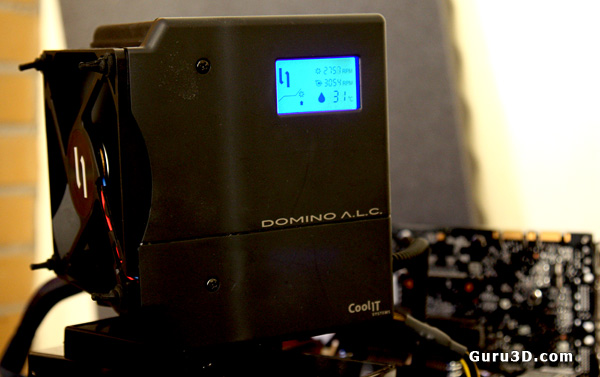
Once powered on we can have a look at the LCD. These are three photo's merged into one of course. There are three selectable performance modes. Each mode, depending on coolant temperature, will make the ventilator spin faster/slower within a defined delta of each operating mode. You could list them as silent operation, normal operation and extreme (noisy) operation.
We'll show you some test results on noise levels later on in this article.
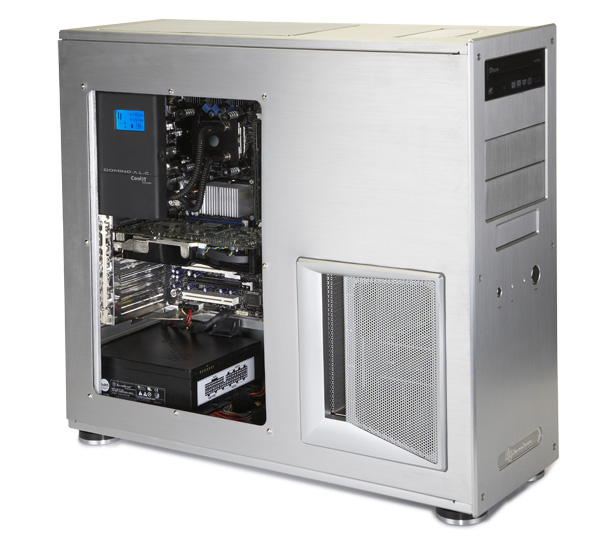
Now I borrowed this photo from CoolIT since we didn't install the unit into a chassis, but this would be an example of your end-result. That is a very clean looking installation. So we established that it looks and install just fine, but is it any good ?
