Photoshoot and installation
Photos - Domino A.L.C
On the next few pages we'll show you some photos. The images were taken at high-res and then scaled down. The camera used was a Canon 450D 12 MegaPixel
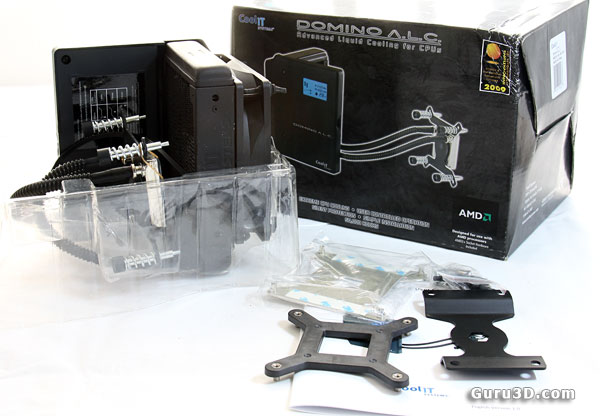
Okay, here we have the kit as delivered. No loose tubing ot pumps whatsoever .. it's a fairly easy to install package as the main components all have been assembled for you and even filled with coolant. Merely the installation boils down to placing a backplate under your motherboard, secure the CPU block, secure the Domino ALC unit, and that's it.
The unit comes with a well written and actually exemplary manual. Good detail is to be found in there, and color photo's. Very nice, I like details like that. Anyway, let's have a look at that stylish ALC unit.
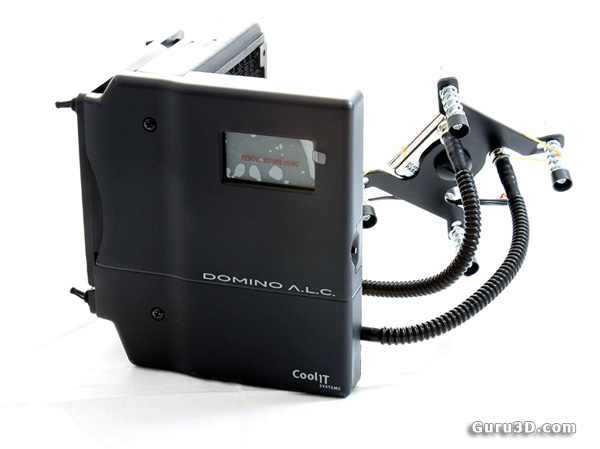
Here you can see the Domino A.L.C unit itself. It's control unit, radiator, variable fan (120mm), pump and reservoir assembled in one single unit. Very interesting to spot is the status LCD and a switch along the right side housing. The switch allows a selection of three different (Low/Med/High) thermal programs.
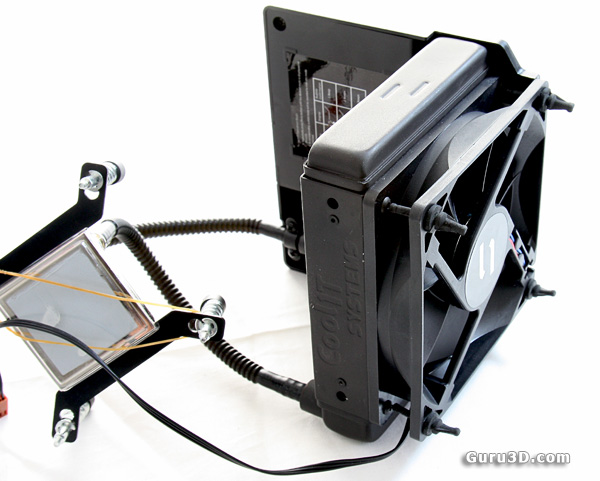
Not quite visible but the main unit uses a new pump with ceramic bearings. Word is that it will withstand really high temperatures. Just to the right of the pump we spot a small alarm buzzer. If any of the components fail, the buzzer will definitely get your attention. Our quick test showed it was working (we stopped the fan manually). The main unit has a 120mm variable speed fan, also already installed. You mount this toward the inner side of your PC case with the help of these rubber straps you see on the 120mm ventilator.
