Product Gallery
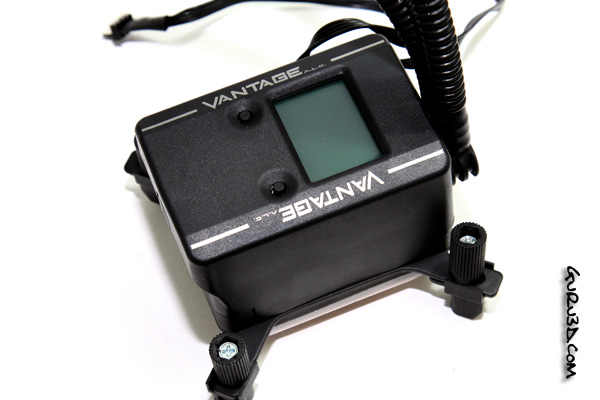
A small close-up of the cooling block with LCD controller. The tubing to the right, the coolant is already inserted into the unit for you. The coolant is a mixture of 25% Propylene Glycol with a comprehensive anti-corrosion package to ensure that there will never be any performance reduction due to build-up or inter-metallic reaction.
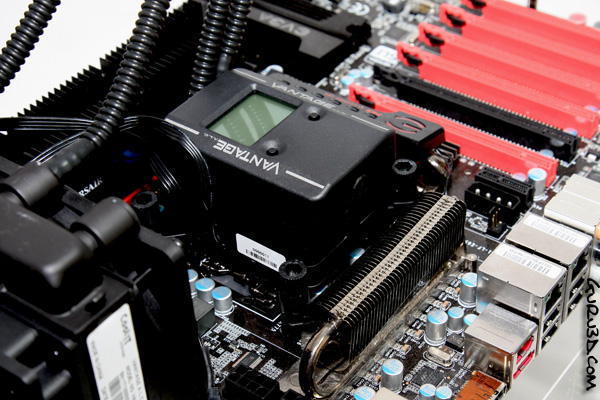
Mounting is very simple. You do need to remove your motherboard as a back plate will need to be installed. Basically on the backside of the motherboard you place the back plate, then as shown above you screw down the four retention mounts by hand or screwdriver. Once the screws stop spinning, you are ready with the CPU block installation. Very easy. Now is a good time to mount the radiator/fan combo secure into the rear 120mm exhaust of your chassis. Also a very easy job, with just four screws. Ten minutes tops folks.
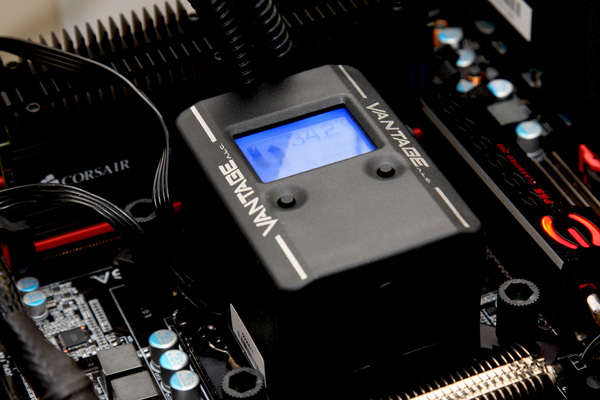
Quiet test before we mount the motherboard into the PC. Here here we see the liquid cooling bock active and running, we got flow ... installation is impressively easy. The only downside is of course that you need to be able to access the backside of the mobo to place that back plate.
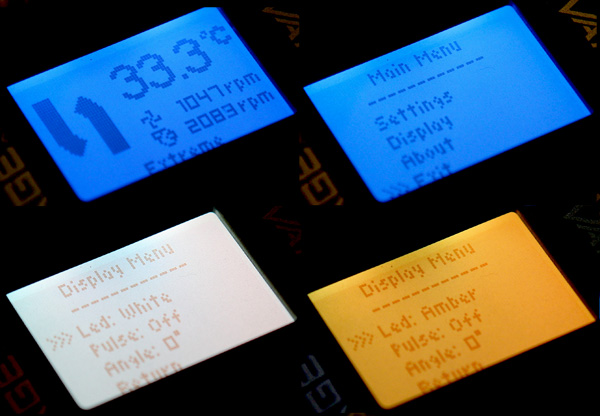
And that little screen there ... it is just oh so configurable. Several performance presets, Celsius and Fahrenheit preferences can be set, the color of the back light and so on. We'll show you a video we made on this though, later in this article. Let's have a look at cooling performance and noise levels first.
