Product Showcase

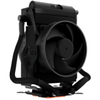
So here is the phase where we slowly start assembling a test setup. Included is all you need including the mounting kit with thermal paste, nuts bolts, power cable and stand-offs. Oh yes, and a back-plate of course.
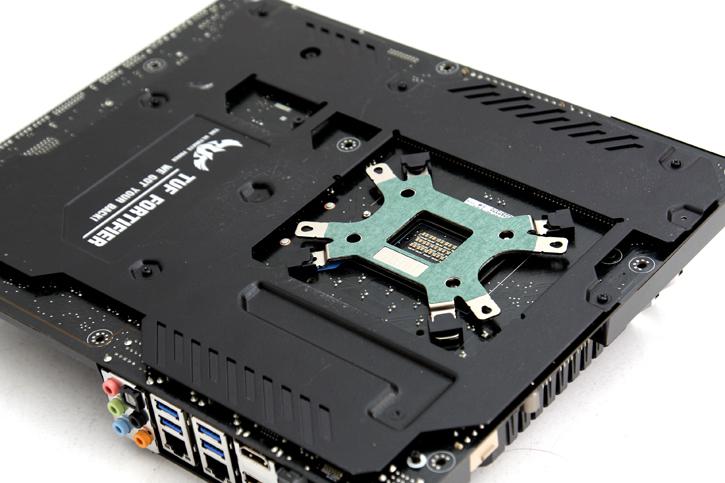
Mounting the cooler is a very easy thing to do, though the motherboard needs to come out of the chassis unless you have a chassis with a back-plate cutout. Now we first prepare and insert the Socket 1150 back-plate in our case.
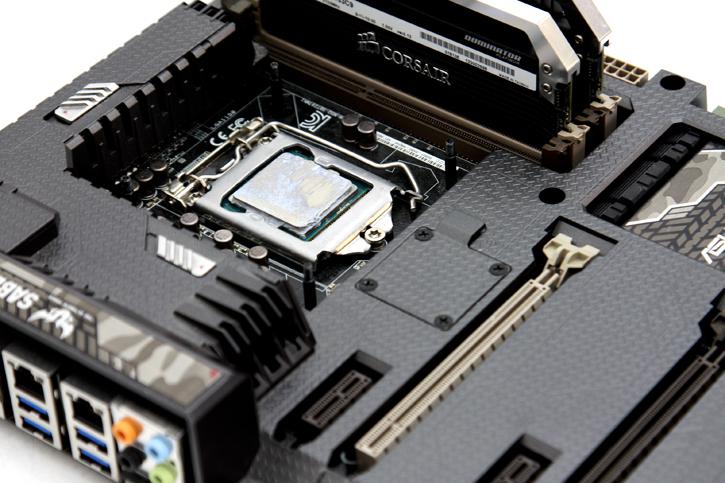
Apply a drop of thermal paste (included), and place the cooling unit mounting bracket over the upwards pointing screws.

The cooler is now ready to be seated and secured with thumb-screws. This likely is the most 'icky' part as space is far from ample. You'll also notice that the tubing might conflict with high-profile DRAM modules, however the tubing is fitted with easy-connect fittings that can be rotated, push both upwards and the tubing will be free from the DRAM slots. When mounted vertically the cooler measures 99.9 x 81.6 x 167.5mm and in a horizontal position that would be 99.9 x 142 x 118.8mm. Again, this is an Intel-only cooler with support for LGA 2011-V3, 2011, 1151, 1150, 1155, and 1156.
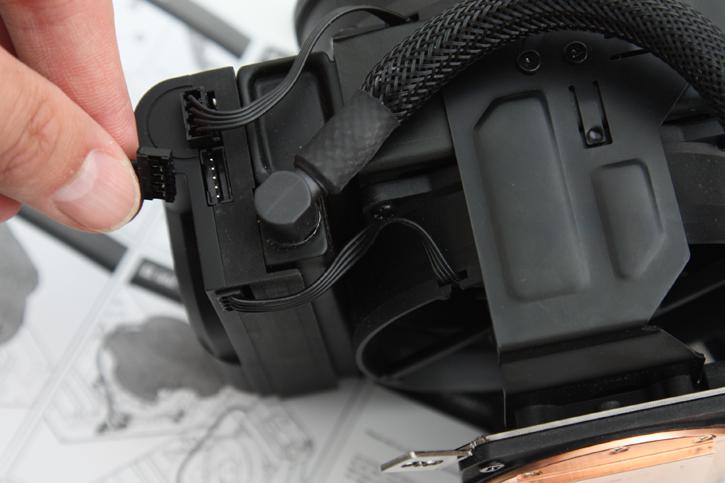
Once we seat the cooler in position we need to connect the power and fan cable. Power is drawn from a SATA power connector, fan RPM is controlled by your motherboard.
