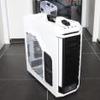
Product Showcase - Interior
When we open up the side panel you get a sense of how big this chassis really is. The interior of the Styker is very well designed. Remeber this is a full tower, so there's just so much room to work with, even the largest components fit. For example the CPU cooler height can be 186 mm / 7.3 in and your graphics cards length can size up to 322 mm / 12.7 in
Motherboard installation wise the CM Stryker uses the standard motherboard stand-offs that are positioned throughout the tray to fit specific motherboard sizes. For your information, the motherboard form factor sizes supported are mATX, ATX and even XL-ATX, although something as large as an eVGA SR2 might be cramped a little in there though, but other then that .. no worries.
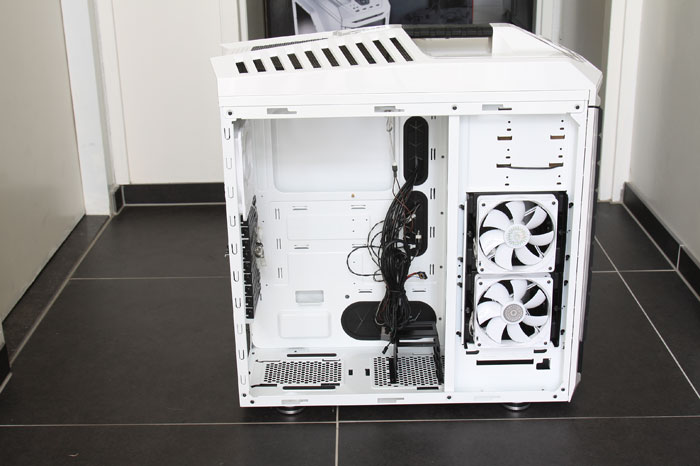
Let's focus on the storage bays for a second, ehm yes these are the drive bays alright! Check out the two 120mm fans in front of the lower 3.5" drive bays keeping your HDDs cool. There are in and exhausts at the front and back of the drive bays in the side panels so airflow should be pretty optimal.
Sitting there all along in black is a 2.5" drive tray on which you can mount SSDs or 2.3" HDDs.
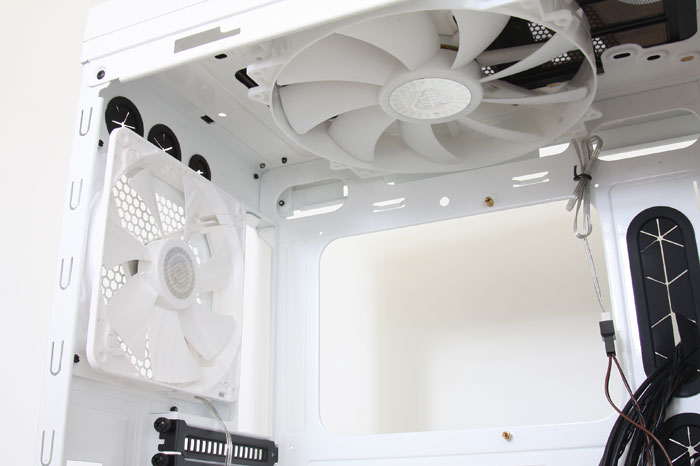
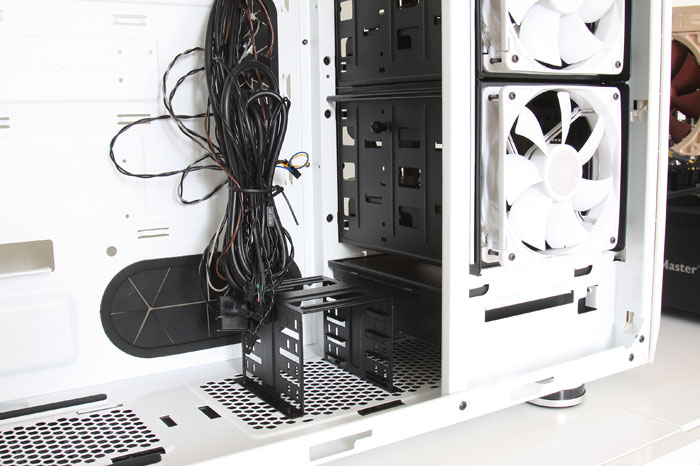
The CPU area aka top left corner then, a 140mm rear exhaust fan and the 200mm top exhaust fans will vent out heated air. All of these fans are down-gradable to smaller units. It's good to see Cooler Master finally use white fans and cabling cabling for the fans ... not yellow/red/black like we have noticed in the past. Everything is kept strictly in the color schema , albeit black and white aren't colors ... ahem. Let's just state two tones ...
To the right the usual spaghetti of cables, mostly for front panel connectivity. Cable routing is not a problem with this chassis though. Mind you that the font-panel USB 3.0 connectors must be connected to the proprietary Intel USB 3.0 header on the motherboard. There are no converter cables to hook it up at the rear IO to the USB 3.0 ports.
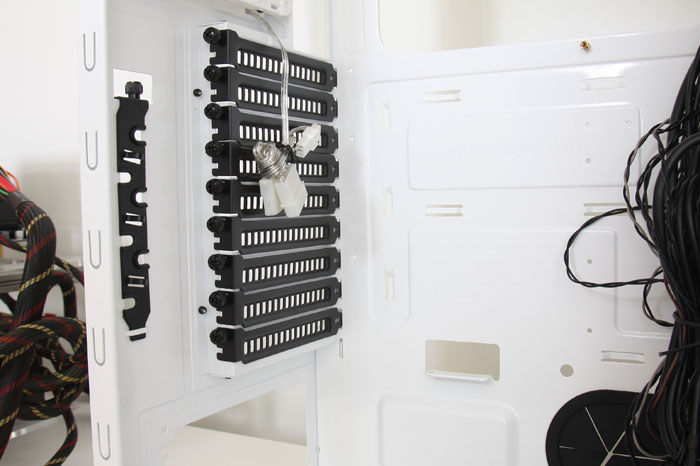
To the left you can see the Expansion Slots in a 9+1 (vertical) configuration. You could use the vertical one for say a USB 3.0 port bracket.
