Product Showcase
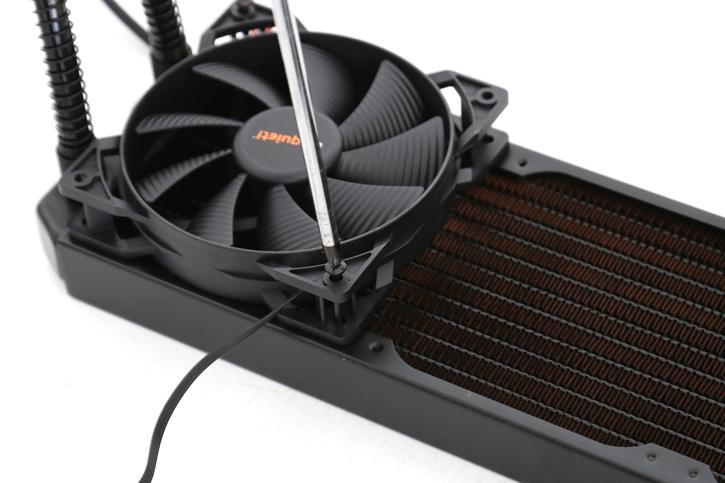
So here is the phase where we slowly start assembling a test setup. First we mount the fans to the radiator, four screws each.
The fans have connectors you can merge together with an included y-splitter cable this leads towards the CPU FAN header on your motherboard (or whatever source you like to control the fans from). For this kit please understand that the motherboard controls the PWM fans. You can also directly lead both FAN cables to your motherboard fan headers of course. But less cable clutter is always better IMHO.
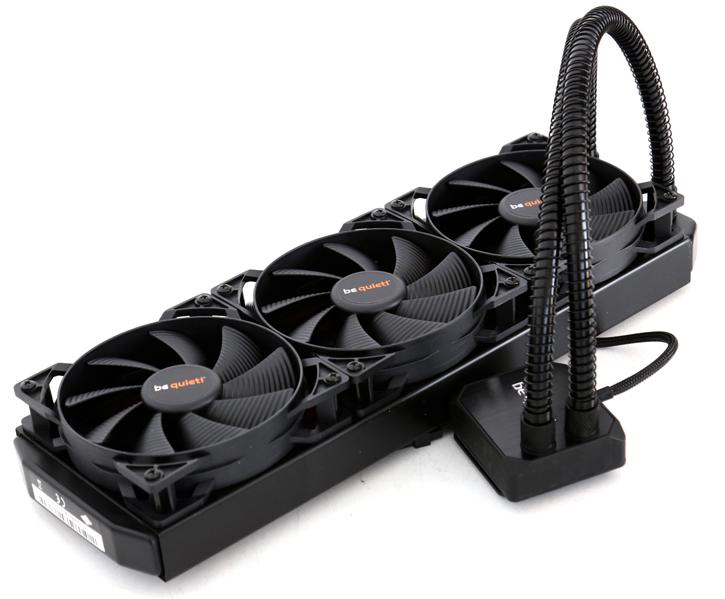
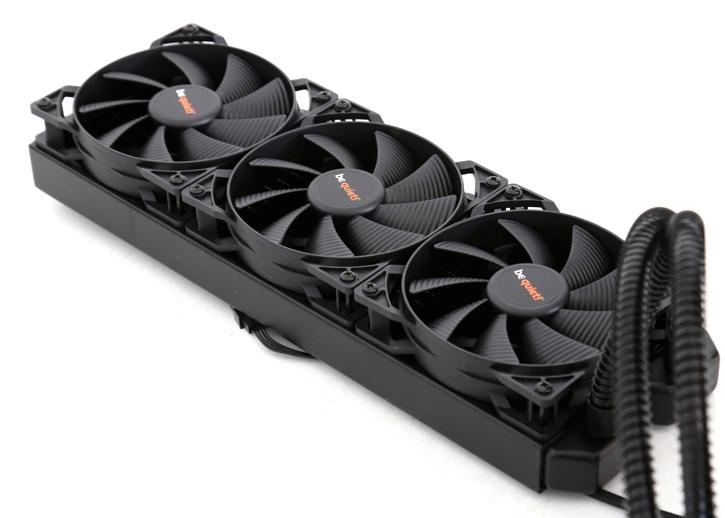
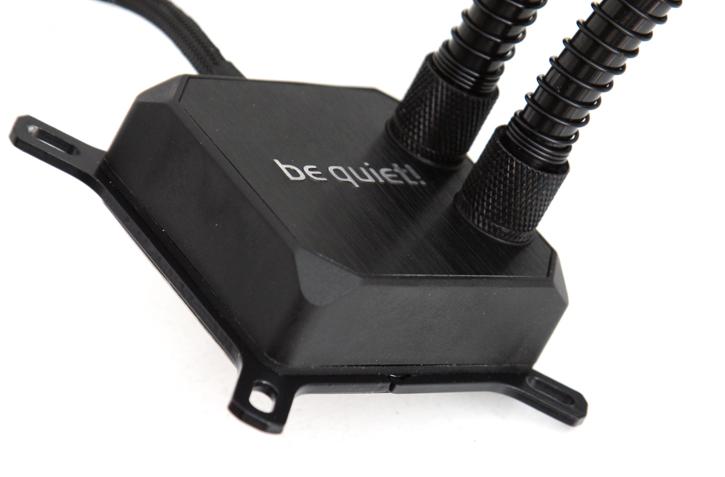
Once done, this is what the unit looks like. You need to decide where you'll be positioning your radiator and how the tubing and wiring will be managed.
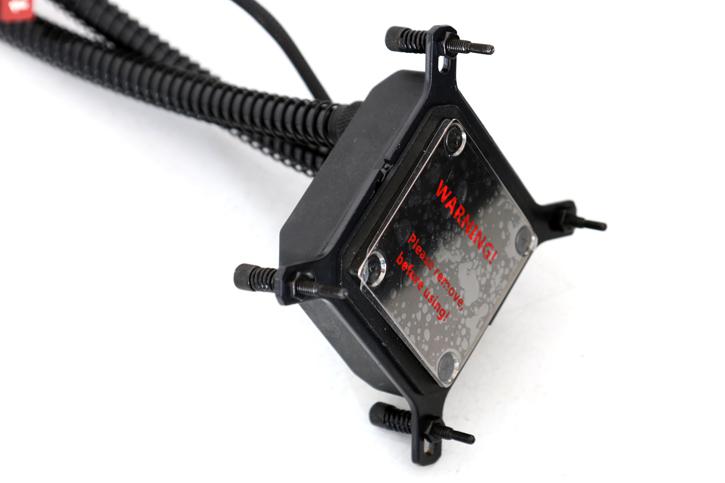
And for the water-block the last step is to insert a mounting screw, spring and washer, push it through the bracket and then secure it with a nut as shown in the above photo.
