Page 11 - Prepping the Graphics Card #3
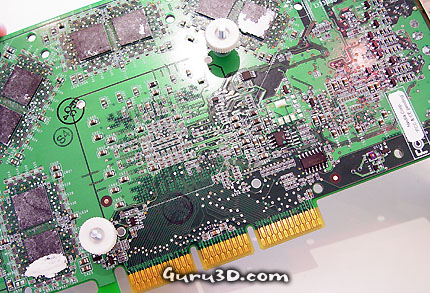
And at last two thumbscrews. Again, do not screw it too tightly. Turn it until you feel a little tension, then give it 4-5 more cranks and it's tightly secure, mounted onto the GPU...
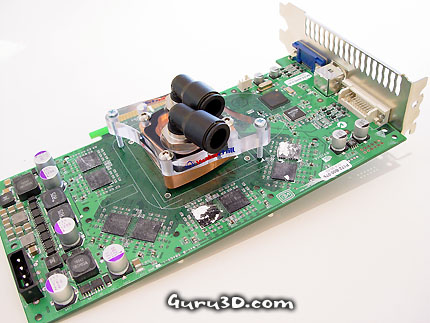
This is the end result of our little GPU water-cooling modification, it's now time to hook everything up.
We connect with tubing the reservoir to the pump, which flows towards the radiator, which goes towards the CPU block. From there onto the graphics cards and then back towards the reservoir. It's really that simple.
We do a little trick with the power supply at the very beginning, startup the PSU (and not the system) and then fill the reservoir with water. Now this can take a while as a lot of air bubbles will stall the initial water circuit. Also, use distilled water and mix it with a little anti-algae fluid (delivered with this kit). The pump will make a lot of noise the first few minutes, don't worry though. Once it has filtered out all the air you won't hear it again.
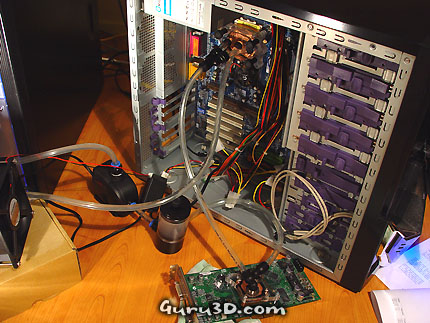
The final stages of testing, and forgive me the big mess. In a later stage this watercooling kit will be housed in it's final home, a Lian-Li system.
Once this stage has completed check for leaks. We had none, this is the wonder of this kit. You insert the tubing and that's it... water-tight. Once you are confident that there are no leaks install the videocard, give the mainboard power and make it come to life.
Frankenstein all over again, it's alive... maauahahah.
