Accelero X1 Installation
Installation
Installation is not so difficult. The instructions are thorough, and you can't really go wrong. If anybody is looking for a 3rd party GPU cooler that's easy to install, this is one of your best bets.
First of all you need to remove the original cooler.
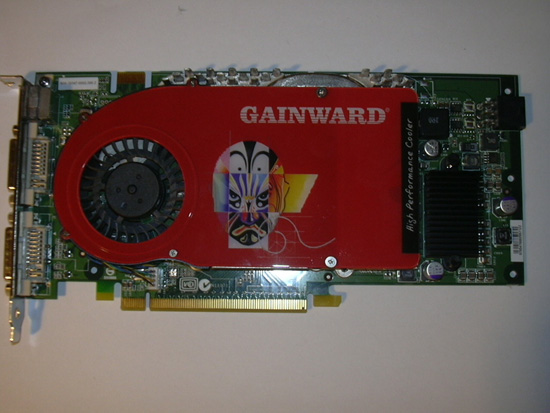
The Gainward 7800 GTX with the stock cooler still in place.
I used a pair of pliers to pull out the 4 pin fan connector, and then I removed the stock memory heatsink on the back of the card by removing the four screws. The card was flipped over, and I removed the plastic cover. The screws are different sizes, so make sure you have a selection of small screwdrivers available to you. Once the cover/shim is off, you'll find four screws underneath holding the heatsink in place. Remove these. The stock heatsink/fan can now be pulled off. Be gentle, as the thermal pads may have stuck to the memory. I had this problem, even though before I removed the card I ran 3dmark to heat the card up to avoid this problem. Still, I heated the area up with a hairdryer, and soon enough it came free and I was able to remove the cooler altogether.
Of course, you now need to prep the area. The core will be covered in paste, and the memory will be covered in parts of disintegrated thermal pad. I simply used a soft cloth to wipe away the residue and clean the area up.
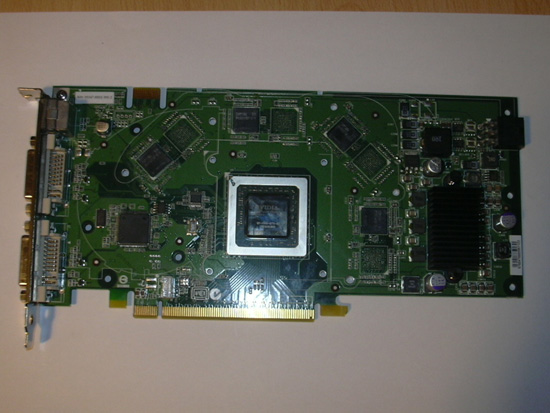
A shot of the 7800 GTX naked, no cooler in place, prepped and ready for the Accelero to be mounted.
Once that is done, you can apply four thermal pads to the memory on the front of the card. Make sure to remove the protective film on each side of the pads, or else they will not stick very well. I had one that preferred my finger to the card, but the rest were ok. Once the thermal pads are in place, you are ready to attach the cooler. Remember you do not need to apply anything to the core as the cooler has thermal paste pre-applied.
Place the cooler face down on the table in front of you, remembering to remove that protective covering from the underside. Next, pick up the graphics card, hold it up, face down, and place it onto the heatsink, ensuring the mounting holes match up. You then need to take the 6mm screws, place a washer in between the screws themselves and the graphics card, and fasten all 9 screws in so they are tight, but not too tight. You should do this in a specific order, diagonally, so you're balancing out the load of the heatsink on the core. The instructions explain this.
The next step is to turn the card over and place four more thermal pads on the memory at the rear of the card. You then have to place the passive memory cooler over it, but remember to align the mounting holes. If you don't get it right first time, it will be akward to move the memory cooler, because it will be held tight by the thermal pads. Try and be accurate first time around, I managed it, so can you. =P
The last-but-one thing you need to do is screw in four 8mm long screws into the passive memory cooler.
Finally, check the contact of the core and memory, make sure it's flush, before you plug in the power connector.
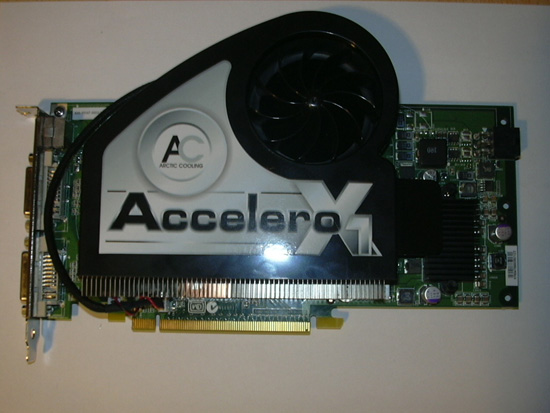
The front side of the card after the cooler has been installed. As you can see it sticks out right over the edge of the card.

The rear of the card after installation of the Accelero. The aluminium heatsink there is cooling the memory.
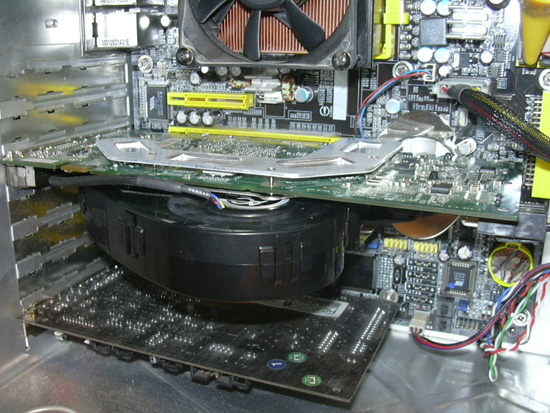
The card installed into the test system with the Accelero firmly in place. It's a bit of monster, make sure you have room. It looks heavy but it's not too bad at all.
