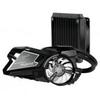
Showcase
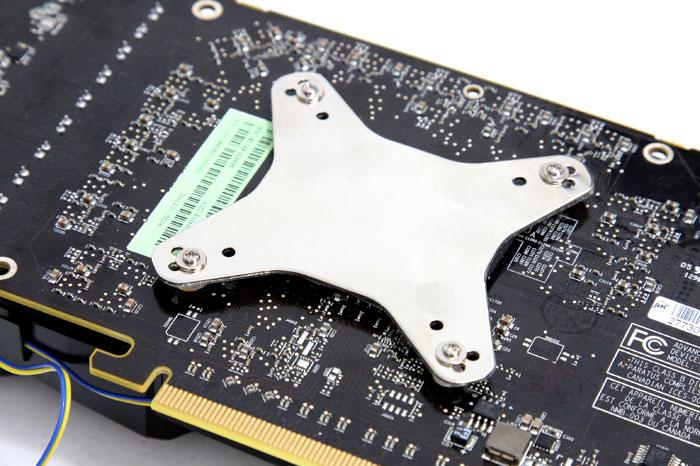
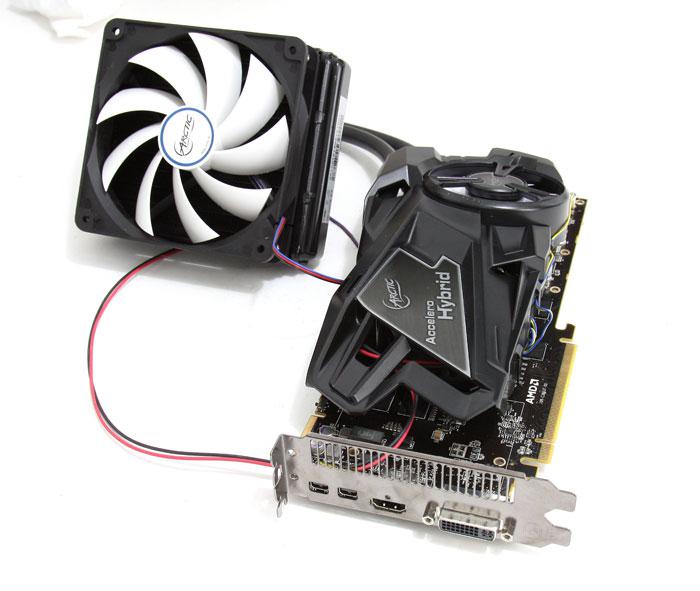
Now the most tricky part -- we have got the cooler backplate lined up with the GPU with the PCB on its back. You place washers under the back plate aligned with the holes. Under the backplate is a rubber cushion that prevents the metal piece from touching the PCB components. With four screws you now secure the backplate with the liquid cooling block. It's tricky as the screws are thin and easily fall out of place. Screw them tight. Do not forget to connect the fan power connector to the PCB power connector.
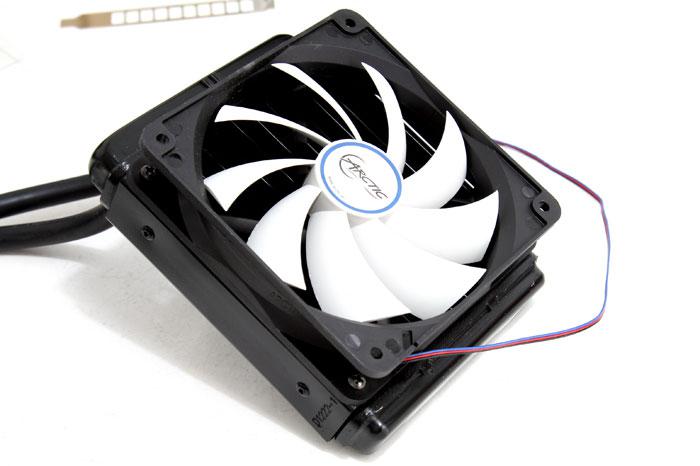
Your next step is to mount the 120mm fan to the radiator with four screws. Easily done -- but do make sure where you want to position this unit inside your chassis first. The mounting screws are delivered with the package.
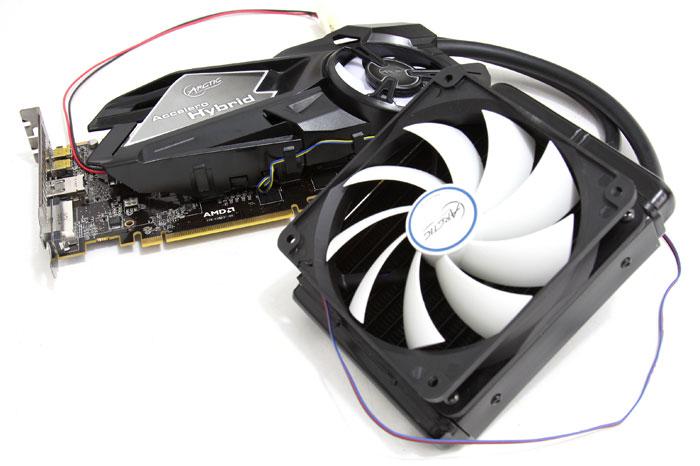
And there we have it, this is the kit all ready to be connected to the PC. One power connector (Molex) needs to be connected to the PSU. The radiator fan I have connected to a motherboard fan header. That way if needed to we can PWM regulate it as well.
That's pretty badass looking... now all we have to do is mount it and test what the performance is like. Alright, next page.
